


Size | 42.5mm*15mm*64mm |
| Use for | Oil |
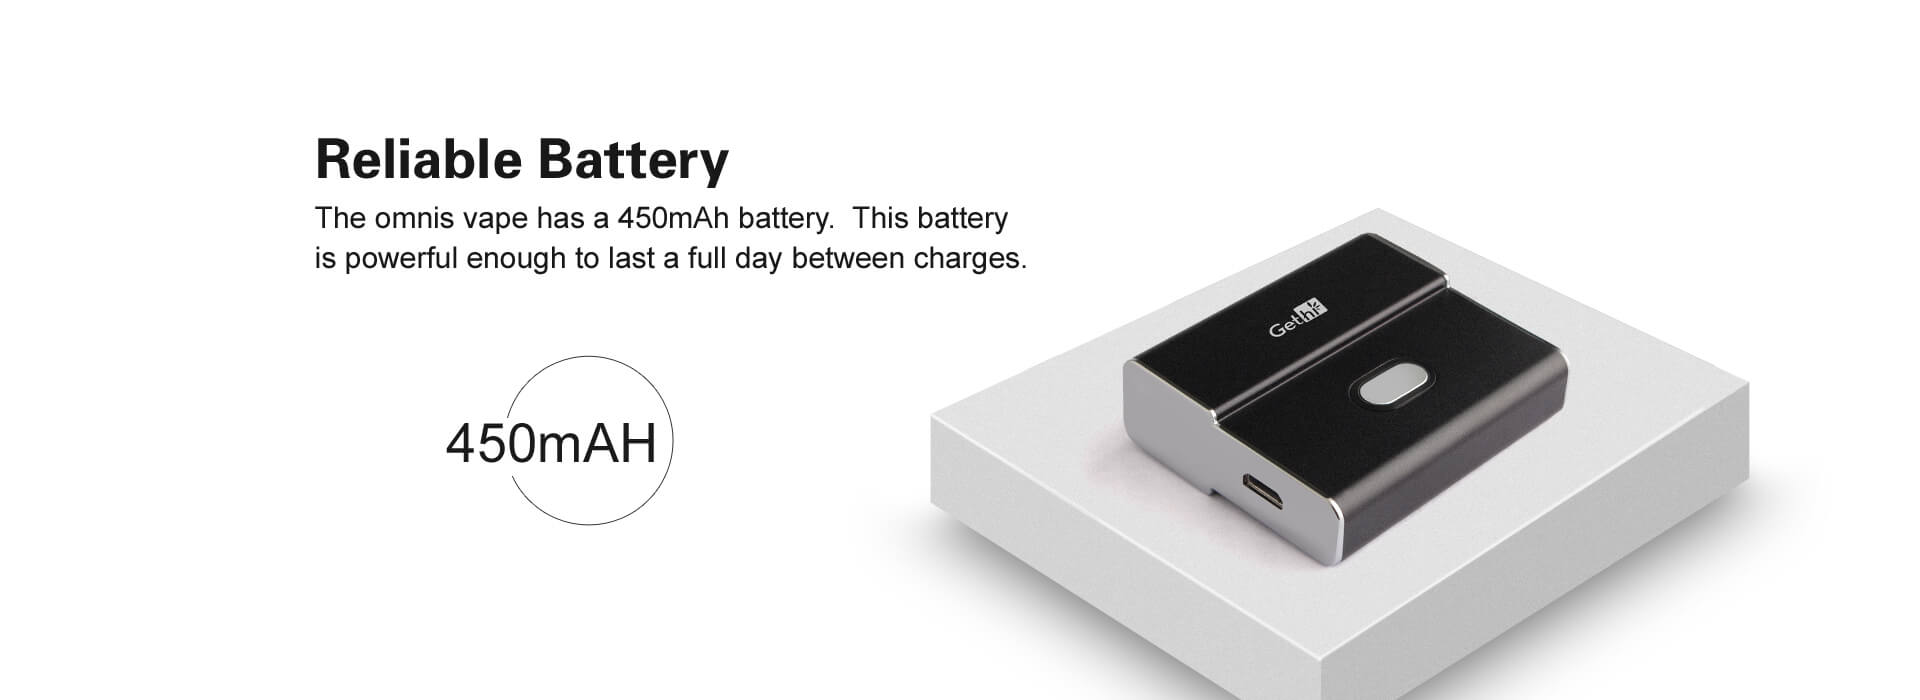
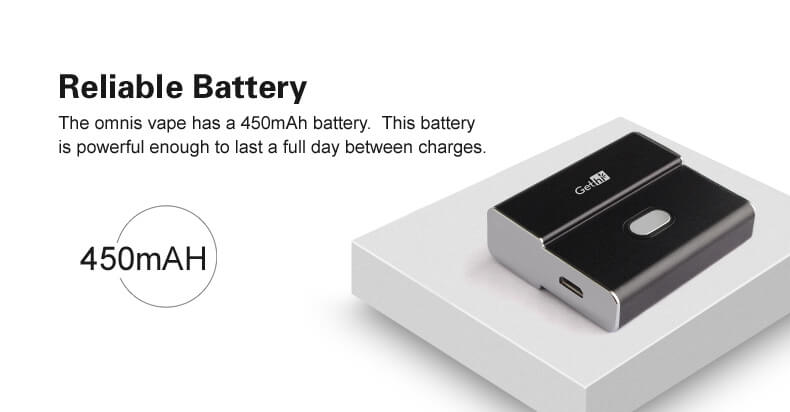
| Battery Capacity | 450mAh Variable Voltage Battery |
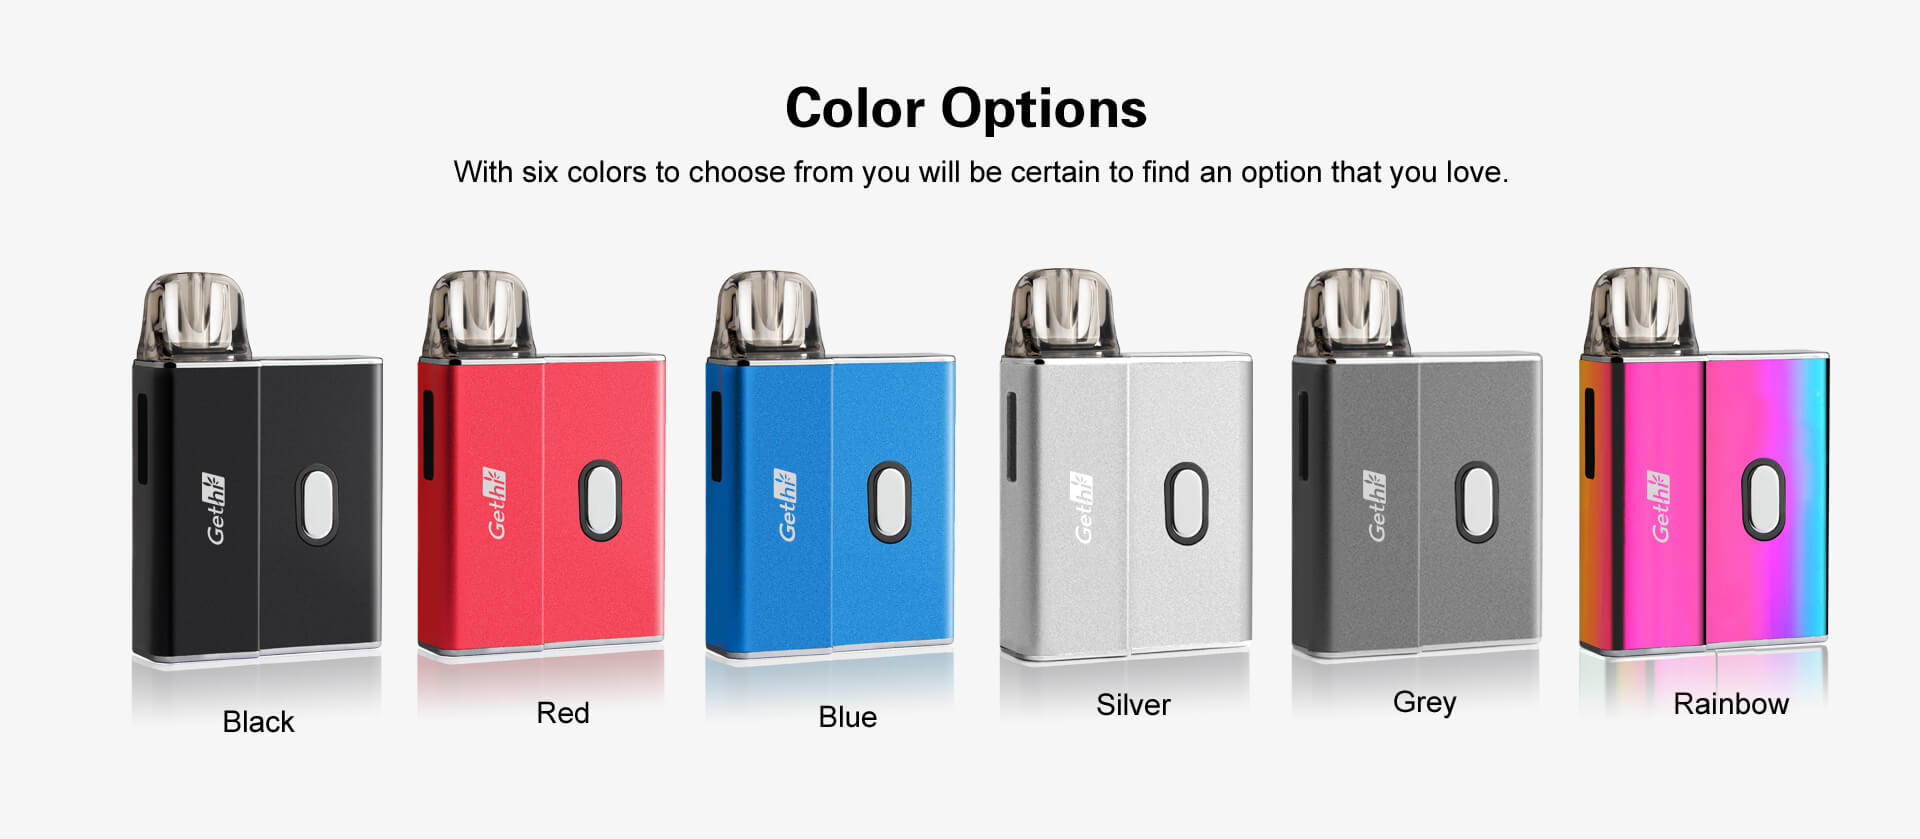
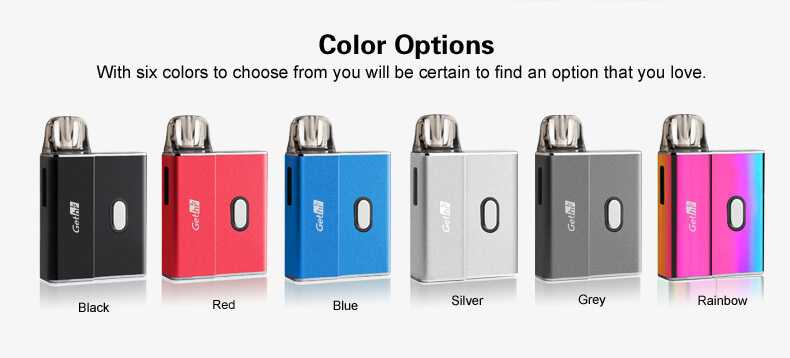
| Color | Black / Silver / Red / Blue / Grey / Rainbow |
| Cartridge | Compatible with pods cartridges |
| Turn On / Off | Press 5 times |
| Out put power | 6.8W |
| Charging Port | Micro Usb Charging Port |
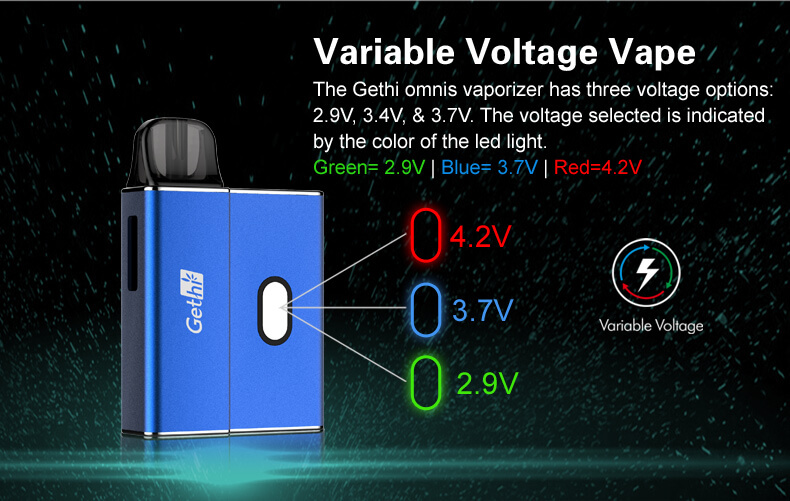
| Adjust Voltages | Press the button 3 times |
| Voltage Indications | Green=2.9V, Blue=3.7V,Red=4.2V |
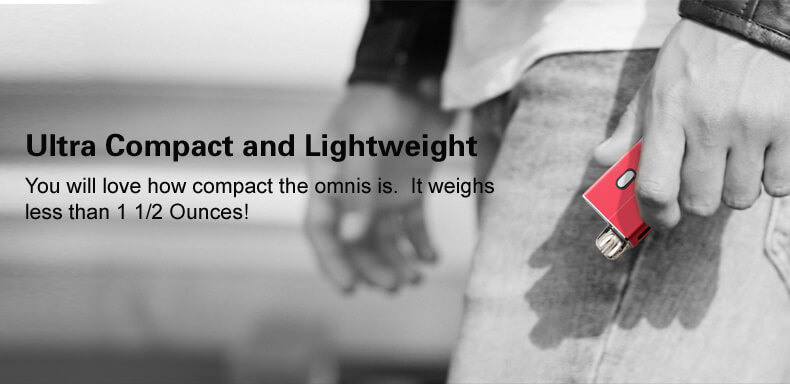
| Weight | 110g |
| Preheating Time | 15 Seconds |
| Charging Current | 500mA |
Size | 42.5mm*15mm*64mm |
| Use for | Oil |
| Battery Capacity | 450mAh Variable Voltage Battery |
| Color | Black / Silver / Red / Blue / Grey / Rainbow |
| Cartridge | Compatible with pods cartridges |
| Turn On / Off | Press 5 times |
| Out put power | 6.8W |
| Charging Port | Micro Usb Charging Port |
| Adjust Voltages | Press the button 3 times |
| Voltage Indications | Green=2.9V, Blue=3.7V,Red=4.2V |
| Weight | 110g |
| Preheating Time | 15 Seconds |
| Charging Current | 500mA |
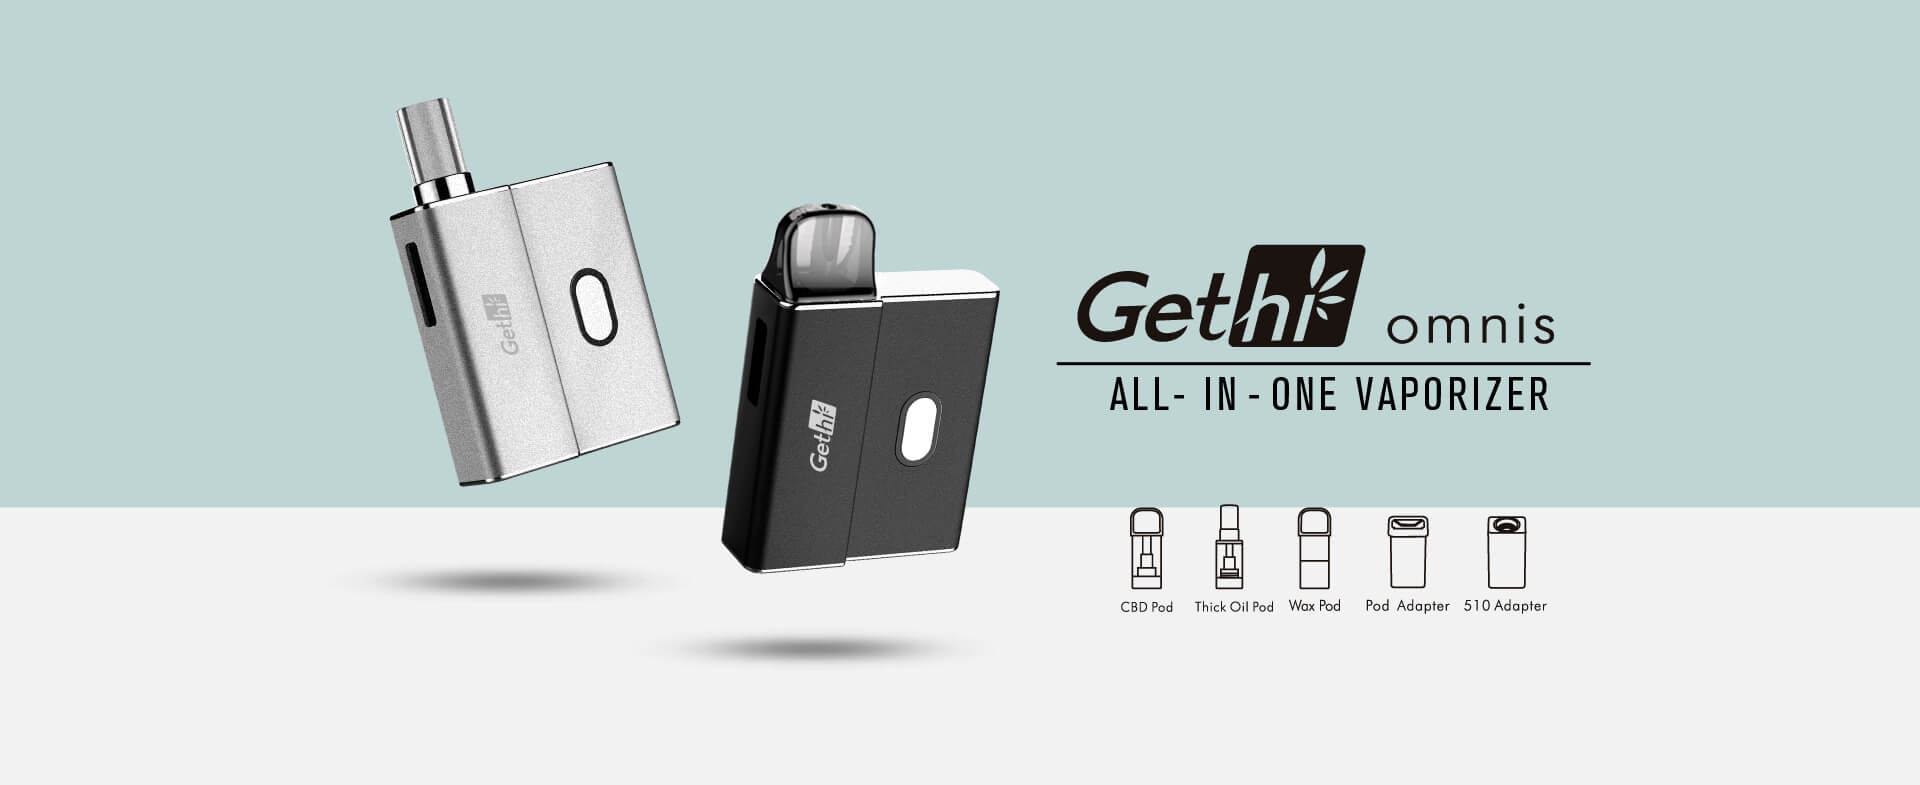
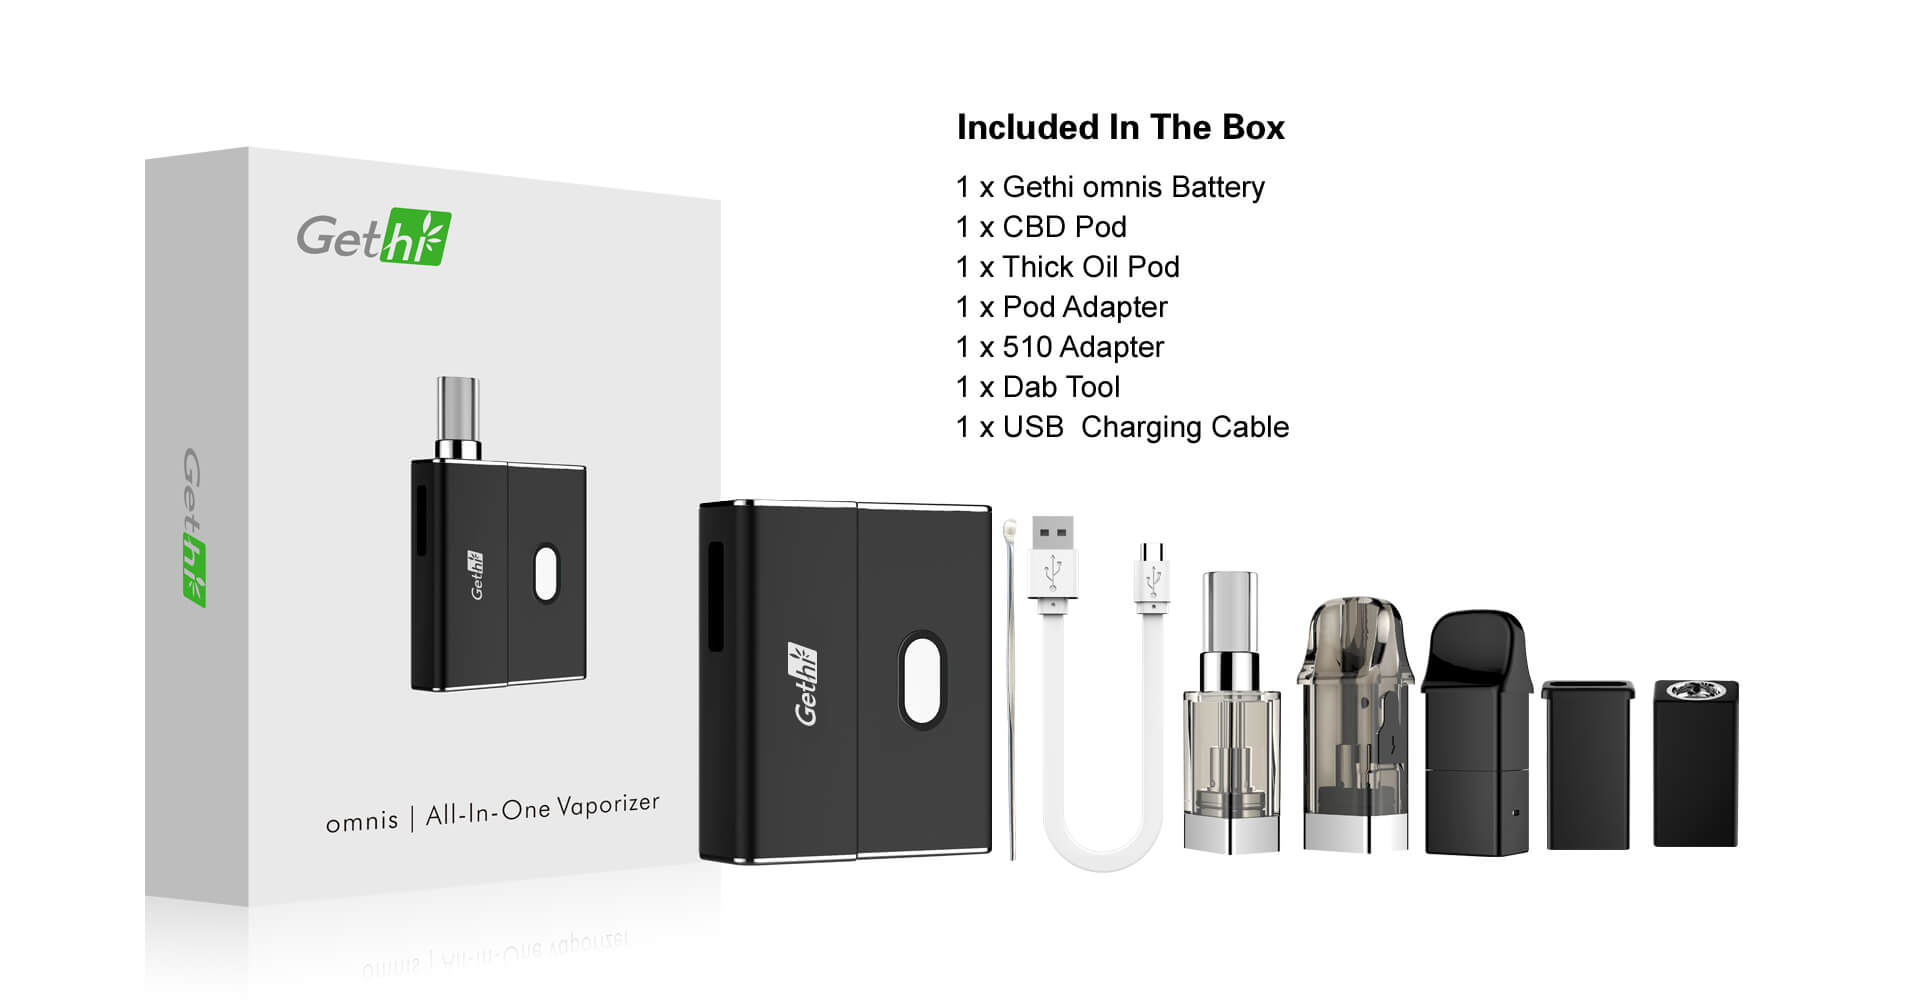
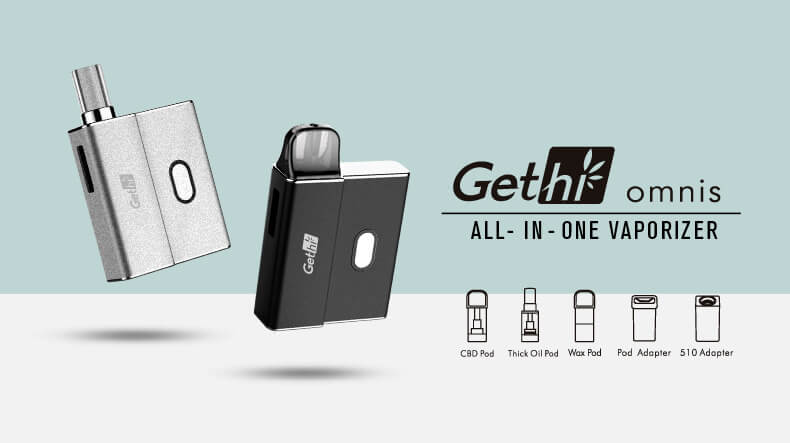
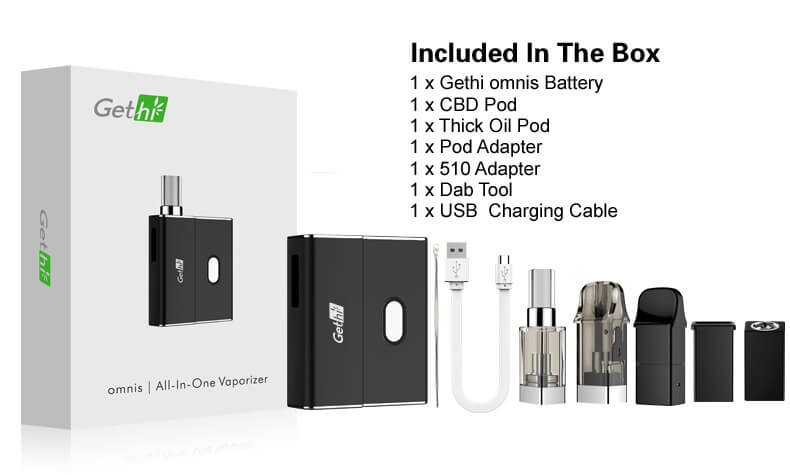
Gethi omnis | All-In-One Vaporizer
Please read the instructions before use.
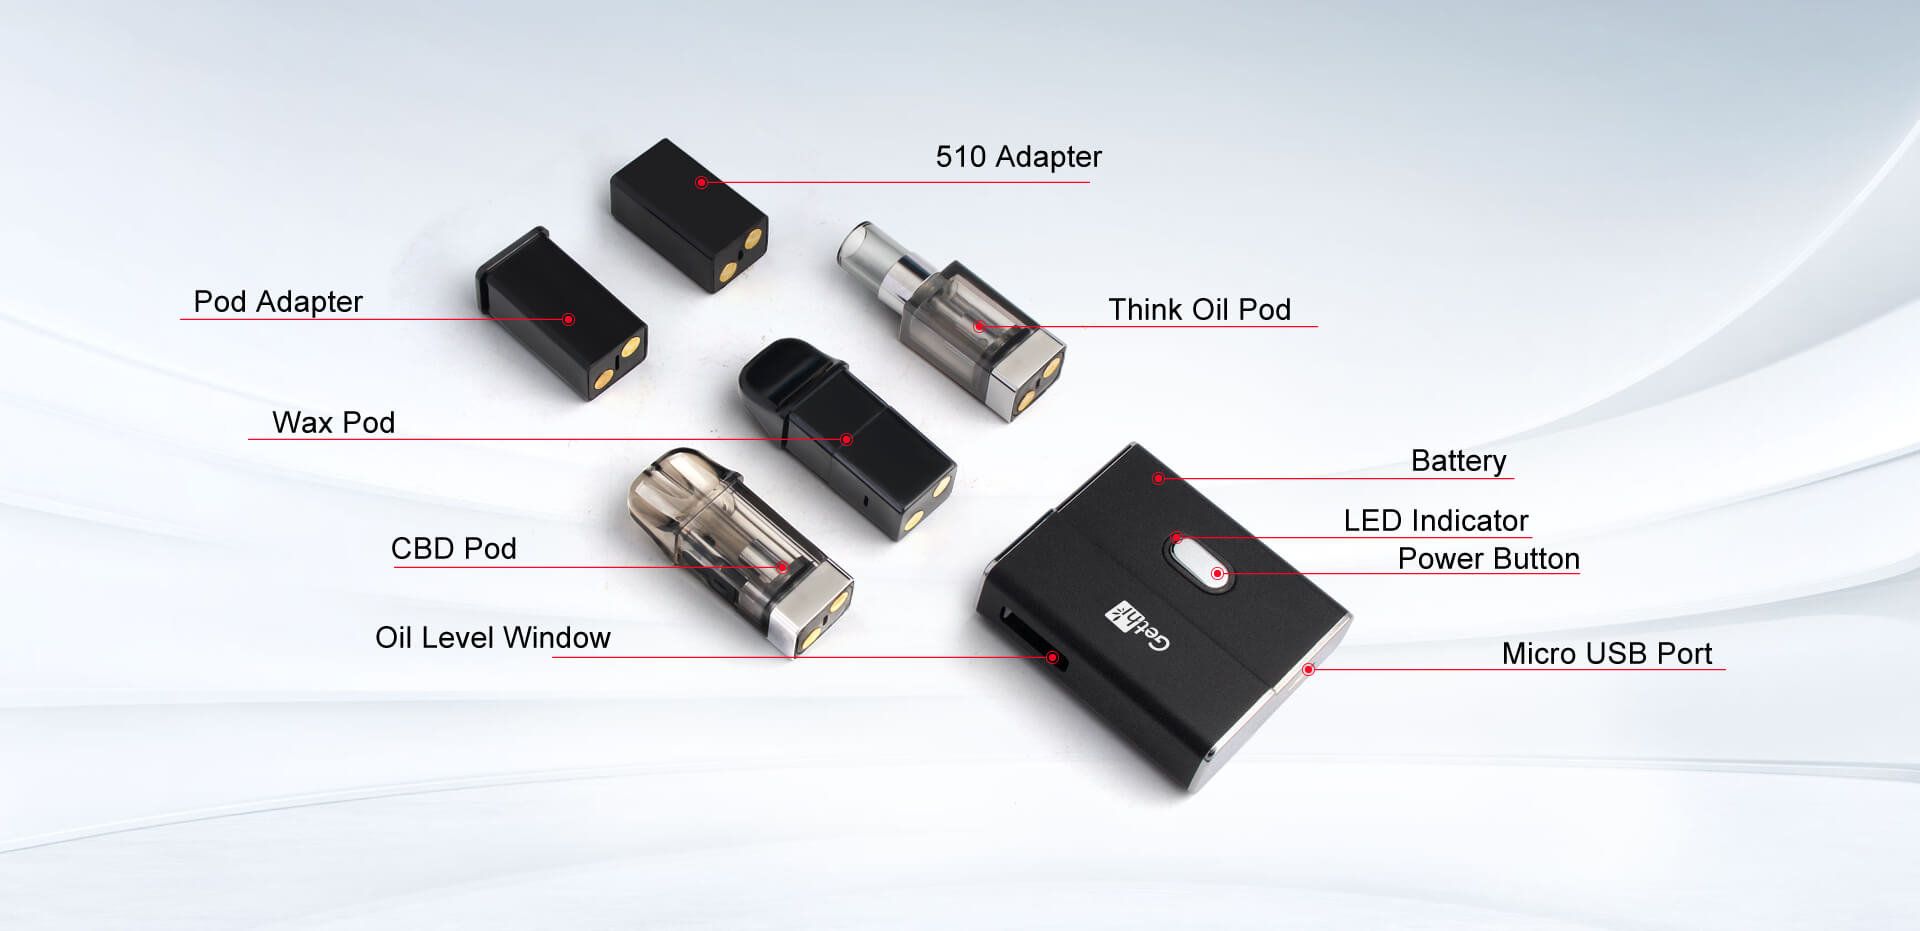
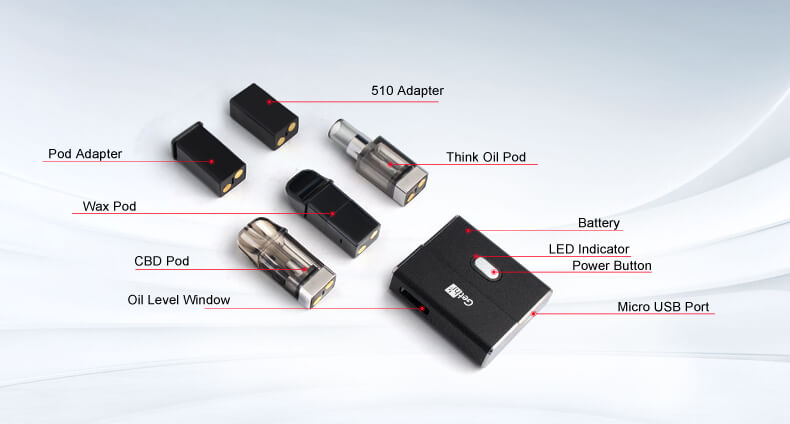
Omnis Teardown
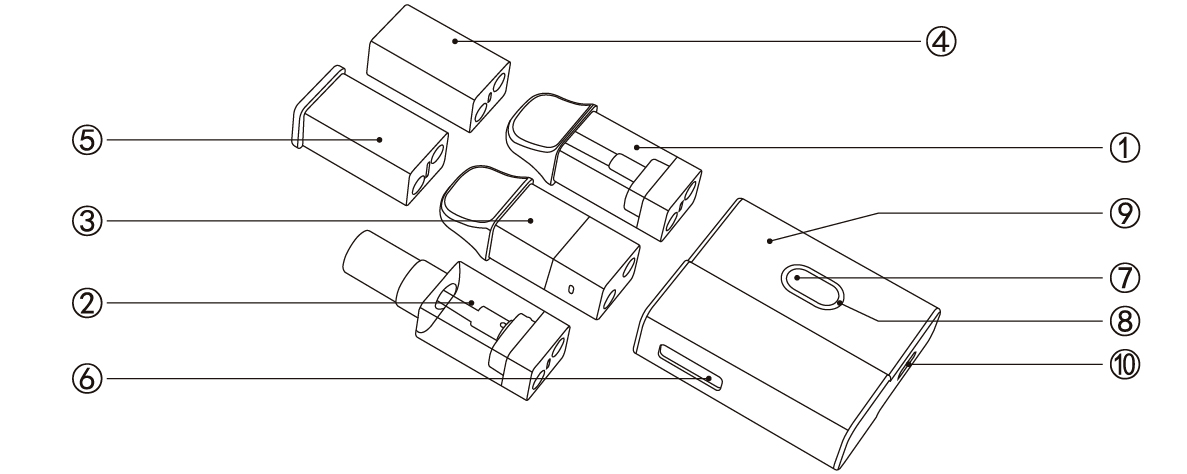
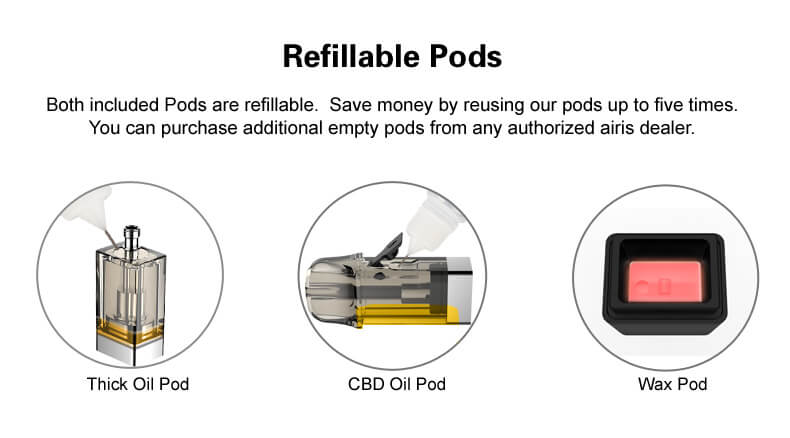
1. CBD Pod 2.Thick Oil Pod 3.Wax Pod 4. 510 Adapter 5. Pod Adapter 6.Oil Level Window
7.Power Button 8.LED Indicator 9.Battery 10.Micro USB Port
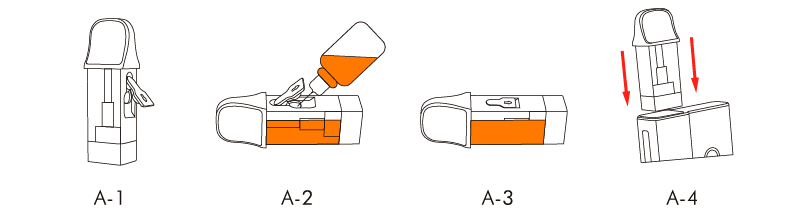
Fill and Install the CBD Pod
- Remove the CBD pod from the battery and open the silicone stopper as shown in figure A-1.
- Fill the pod with your favorite CBD oil using the filling slot as shown in figure A-2.
- Close the silicone stopper and clean the surface as shown in figure A-3.
- Install the pod into the battery as shown in figure A-4.
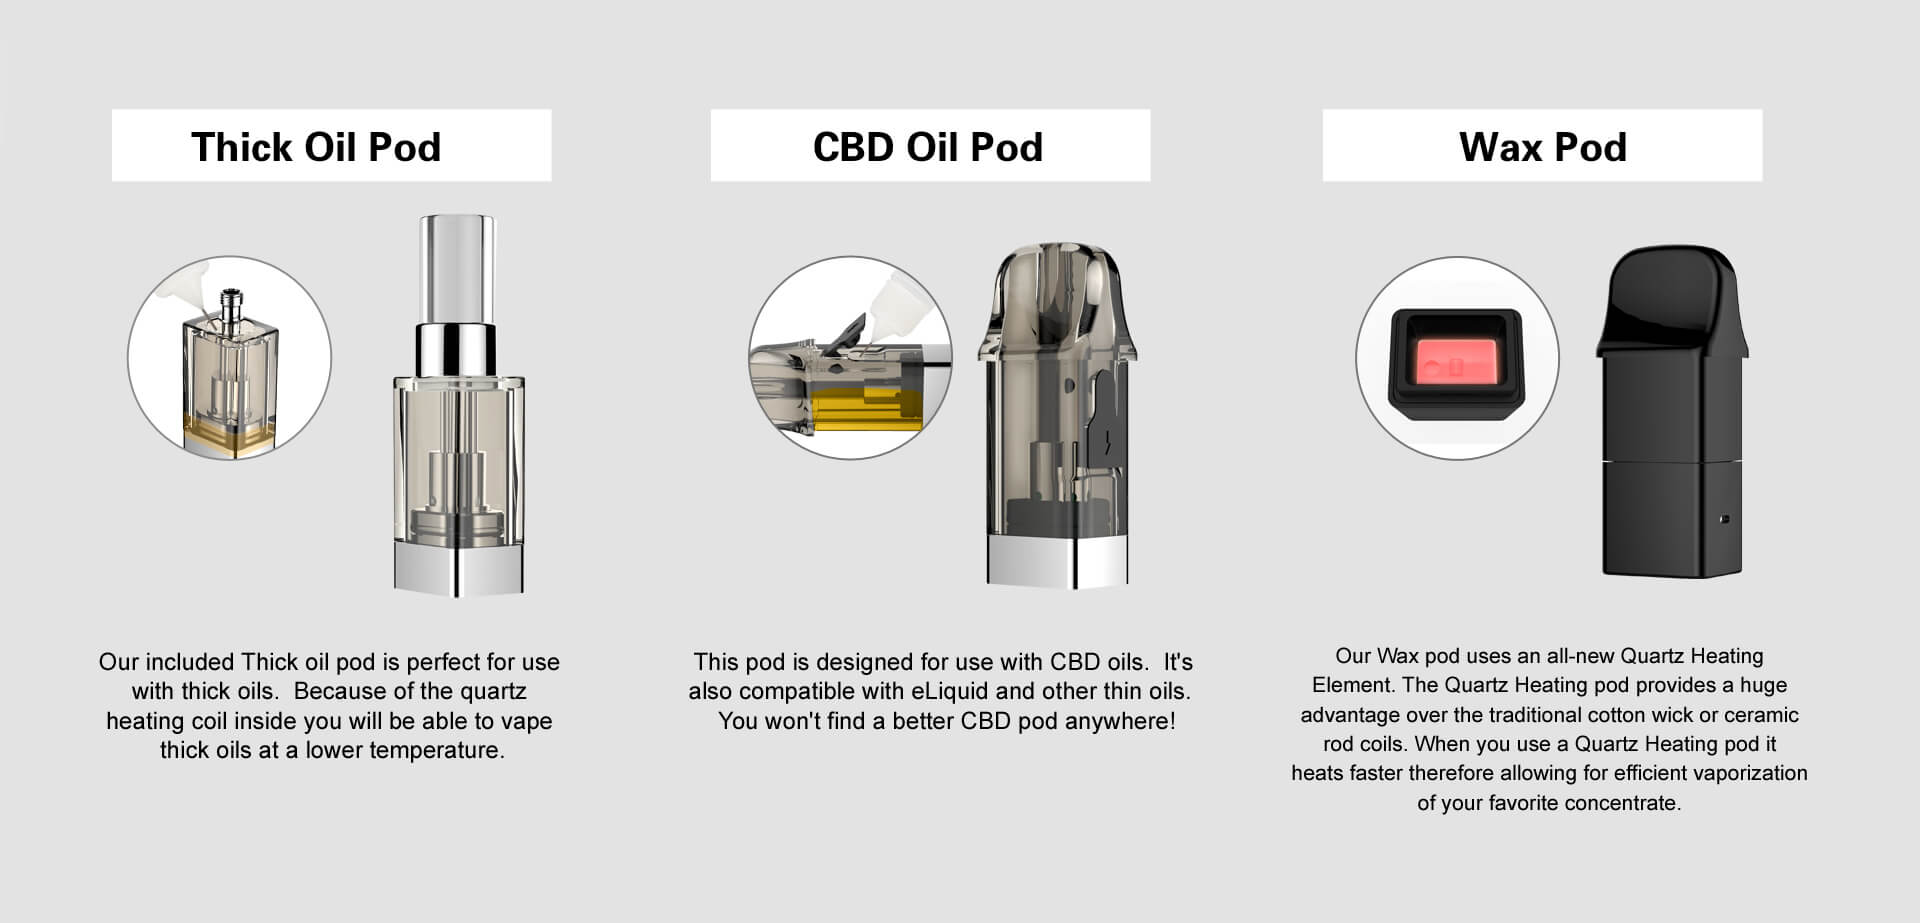
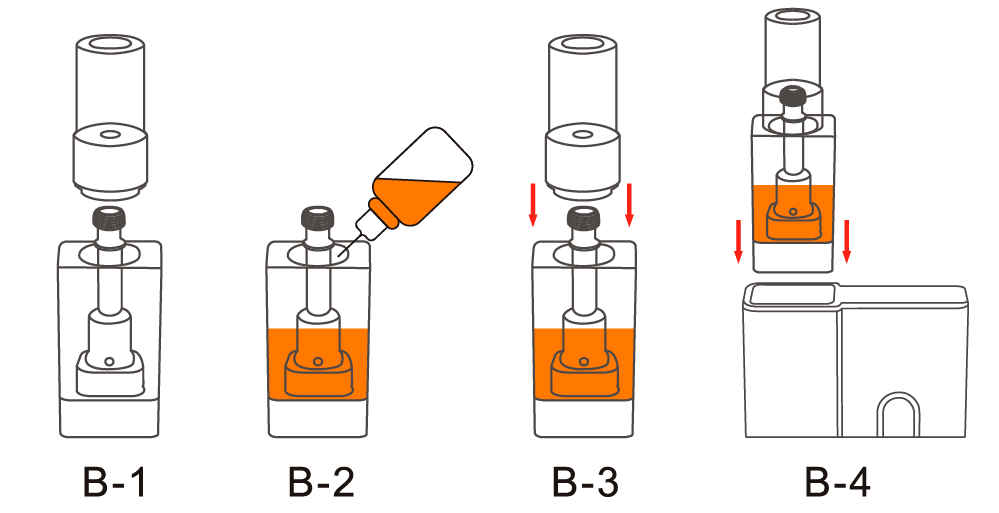
Fill and Install the Thick Oil Pod
- Unscrew the round mouthpiece as shown in figure B-1.
- Fill with your favorite thick oil as shown in figure B-2.(DO NOT PUT OIL IN THE MIDDLE AIRFLOW TUBE,IT WILL DESTROY THE POD)
- Screw the mouthpiece back onto the pod once it hs been filled as shown in figure B-3.
- Install the filled pod place into the slot on top of device and gently slide it down until it magnetically snaps into place as shown in figure B-4.
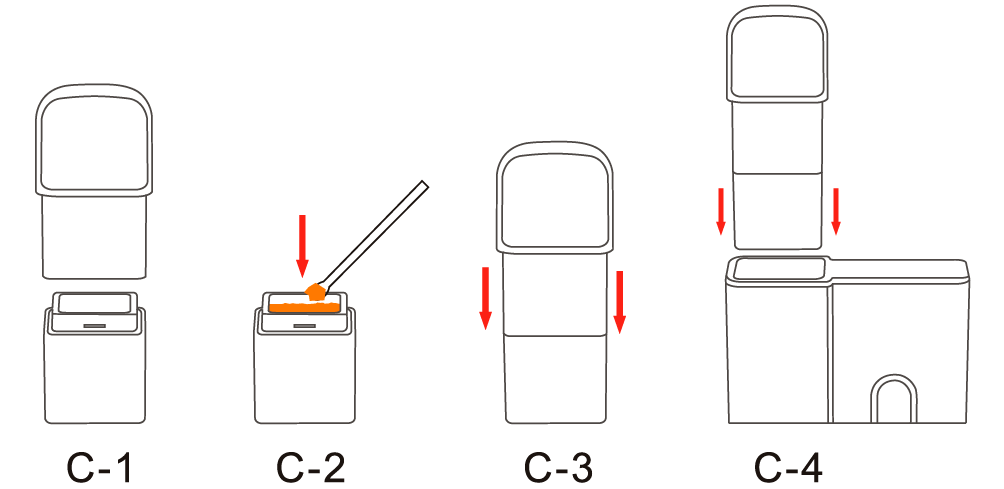
Fill and Install the Wax Pod
- Remove the mouthpiece from the heating chamber as shown in figure C-1.
- Use the dab tool to scoop up your favorite wax/concentrate and put into the heating chamber as shown in figure C-2.
- Put the mouthpiece back on the heating chamber after filling the pod as shown in figure C-3.
- Install the filled pod into the slot on top of device and gently slide down until it magnetically snaps together as shown in figure C-4.
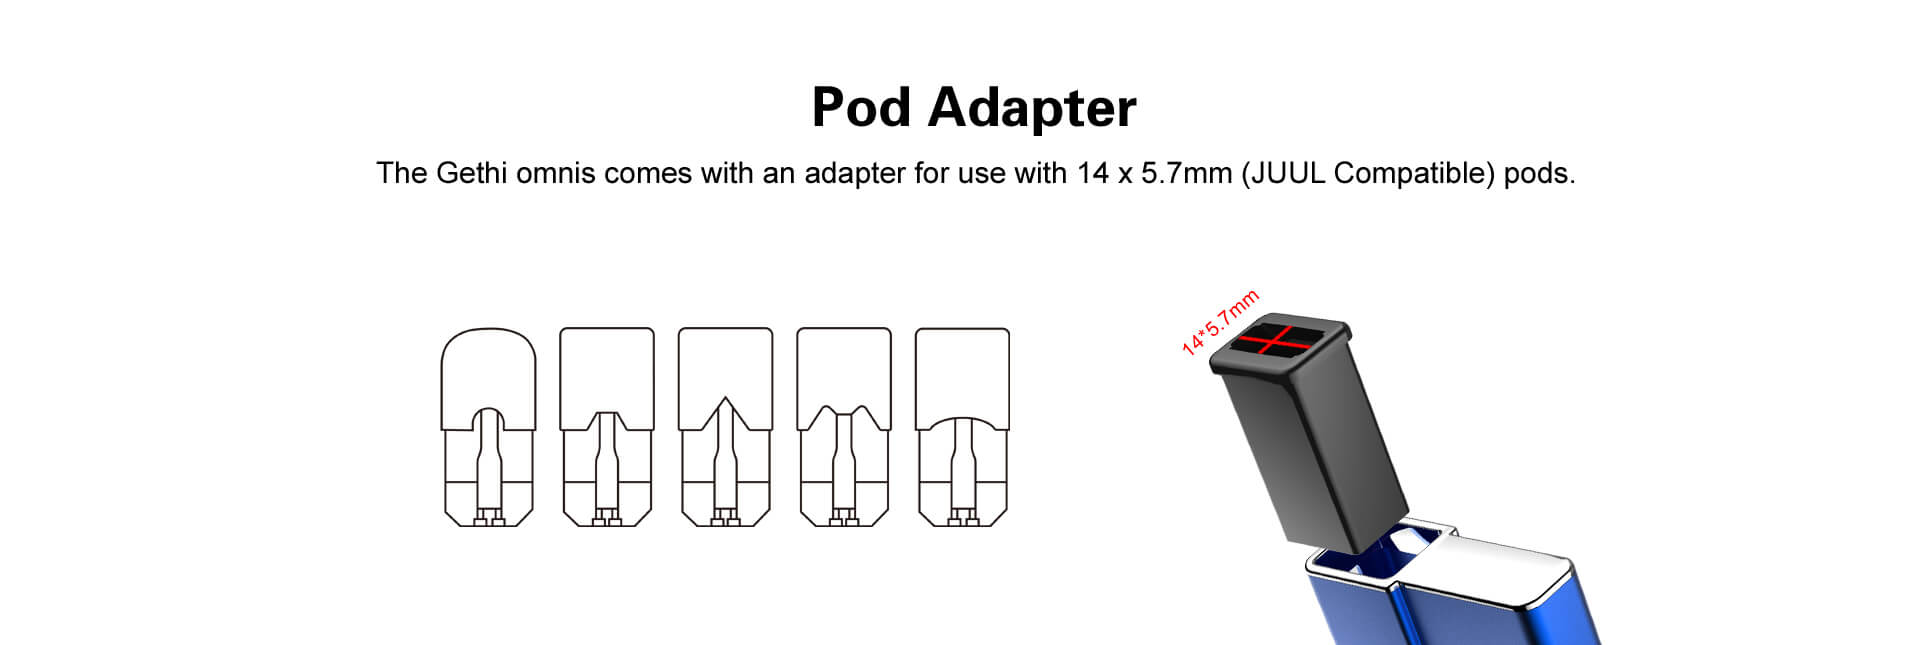
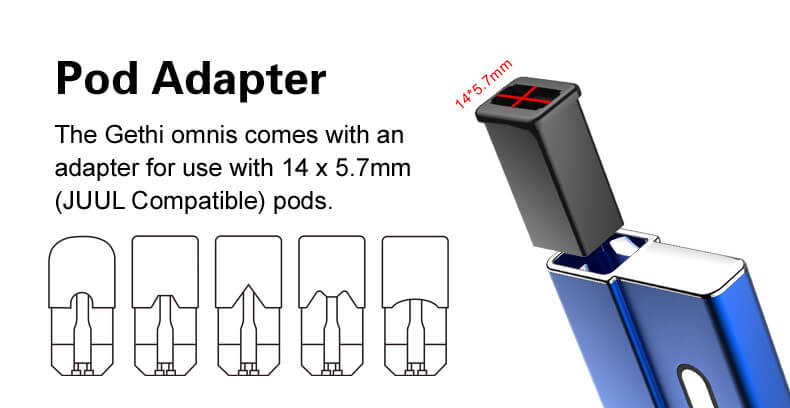
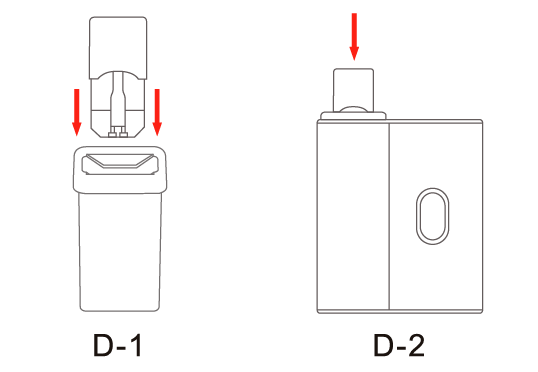
Install and Use with a Prefilled Pod
- Install any prefilled 14x5.7mm (JUUL Compatible) pod into the pod adapter as shown in figure D-1.
- Install the pod adapter and pod into the slot on top of the device and gently side down until it magnetically snaps into place as shown in figure D-2.
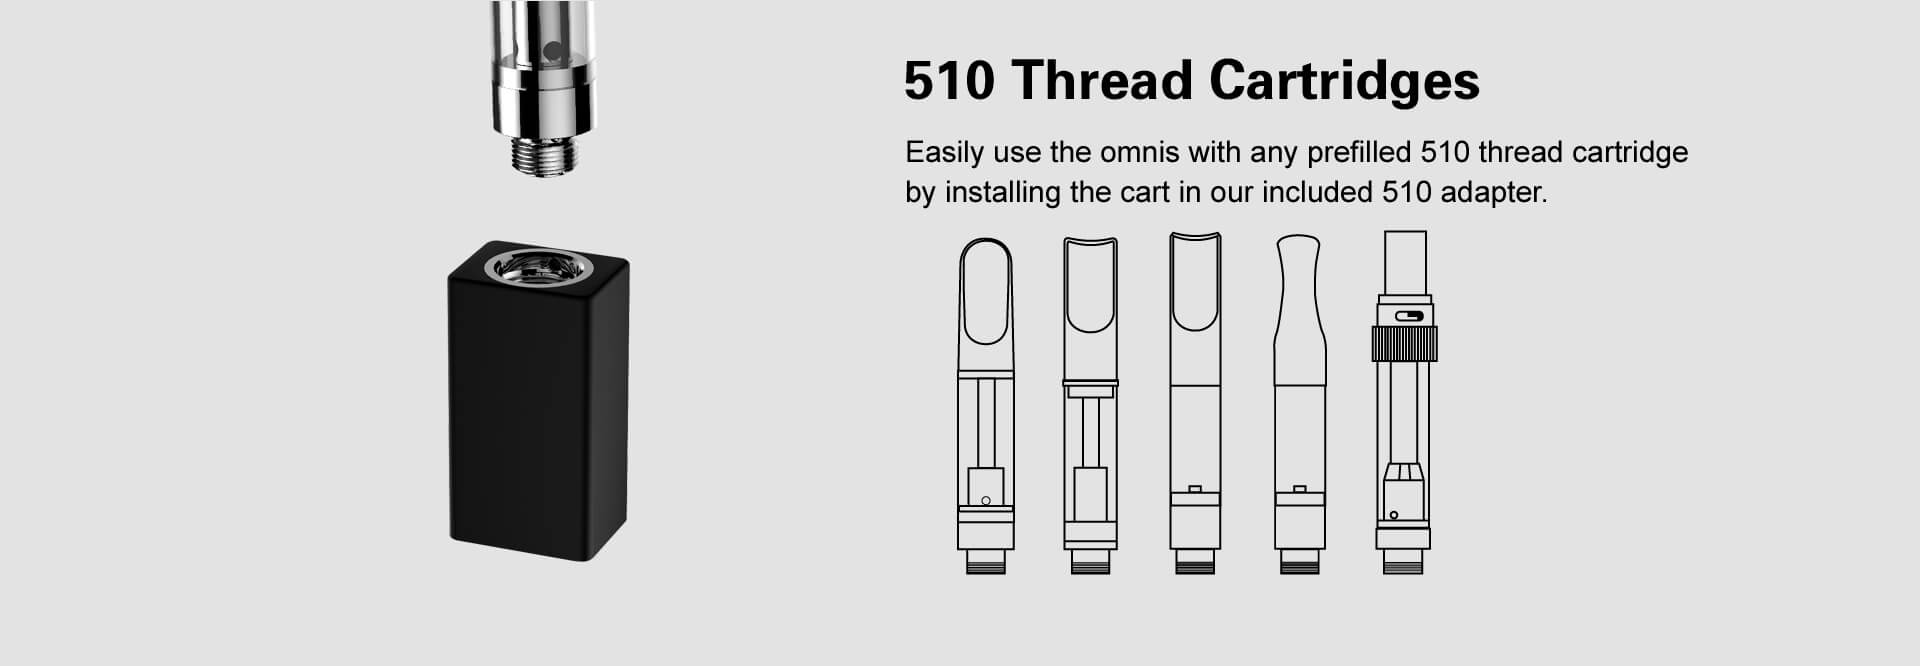
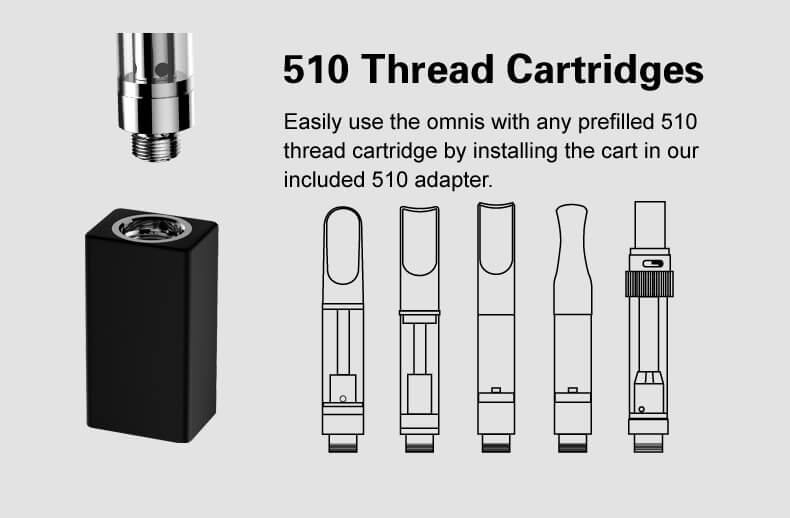
Install and Use with a Prefilled 510 Cartridge
- screw any prefilled 510 thread cartridge into the 510 adapter as show in figure E-1.
- Install the 510 cartridge adapter into the slot on top of the device and gently side down until it magnetically snaps into place as shown in figure E-2.

Please Note:
- First time filling the CBD or thick oil pod,wait about 3 minutes for liquid to soak into coil.
- Water vapor may accumulate at the contact point between the pod and the battery. If accumulation occurs, clean and dry before use. Failure to
clean and dry this area may cause permanent damage to the device and pod.
- Refillable CBD or thick oil pod life expectancy is approximately five refills.
Battery Operation
- Turn the airis omnis device on or off by rapidly pushing the power button fives times.
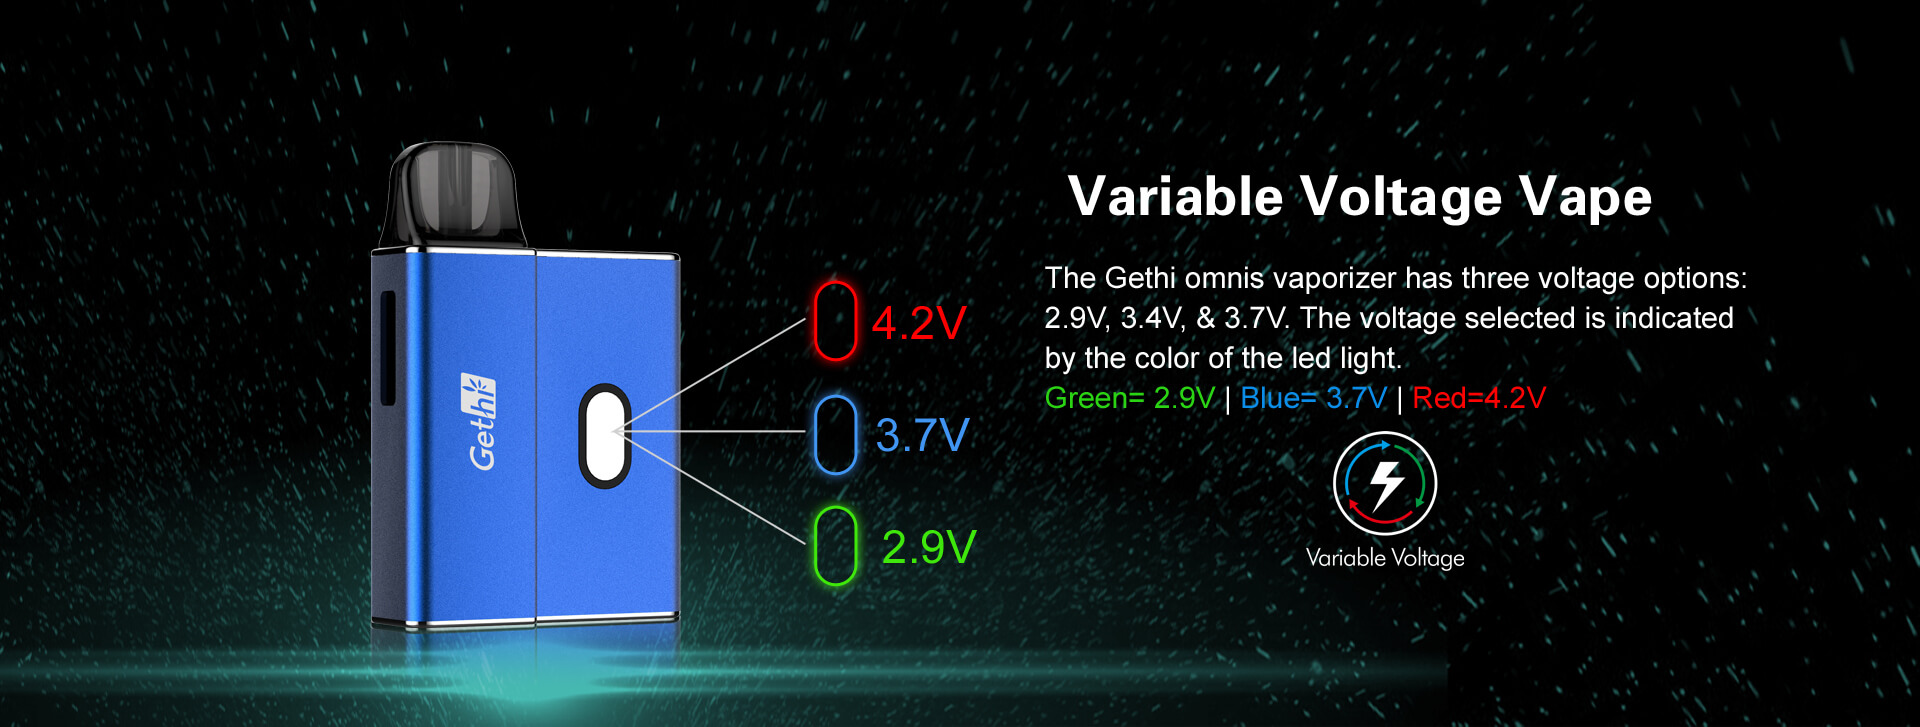
- Set your preferred voltage by clicking the power button three times. The indicator light will change colors depending on the voltage setting.
●Green = 2.9V |● Blue = 3.7V | ●Red = 4.2V
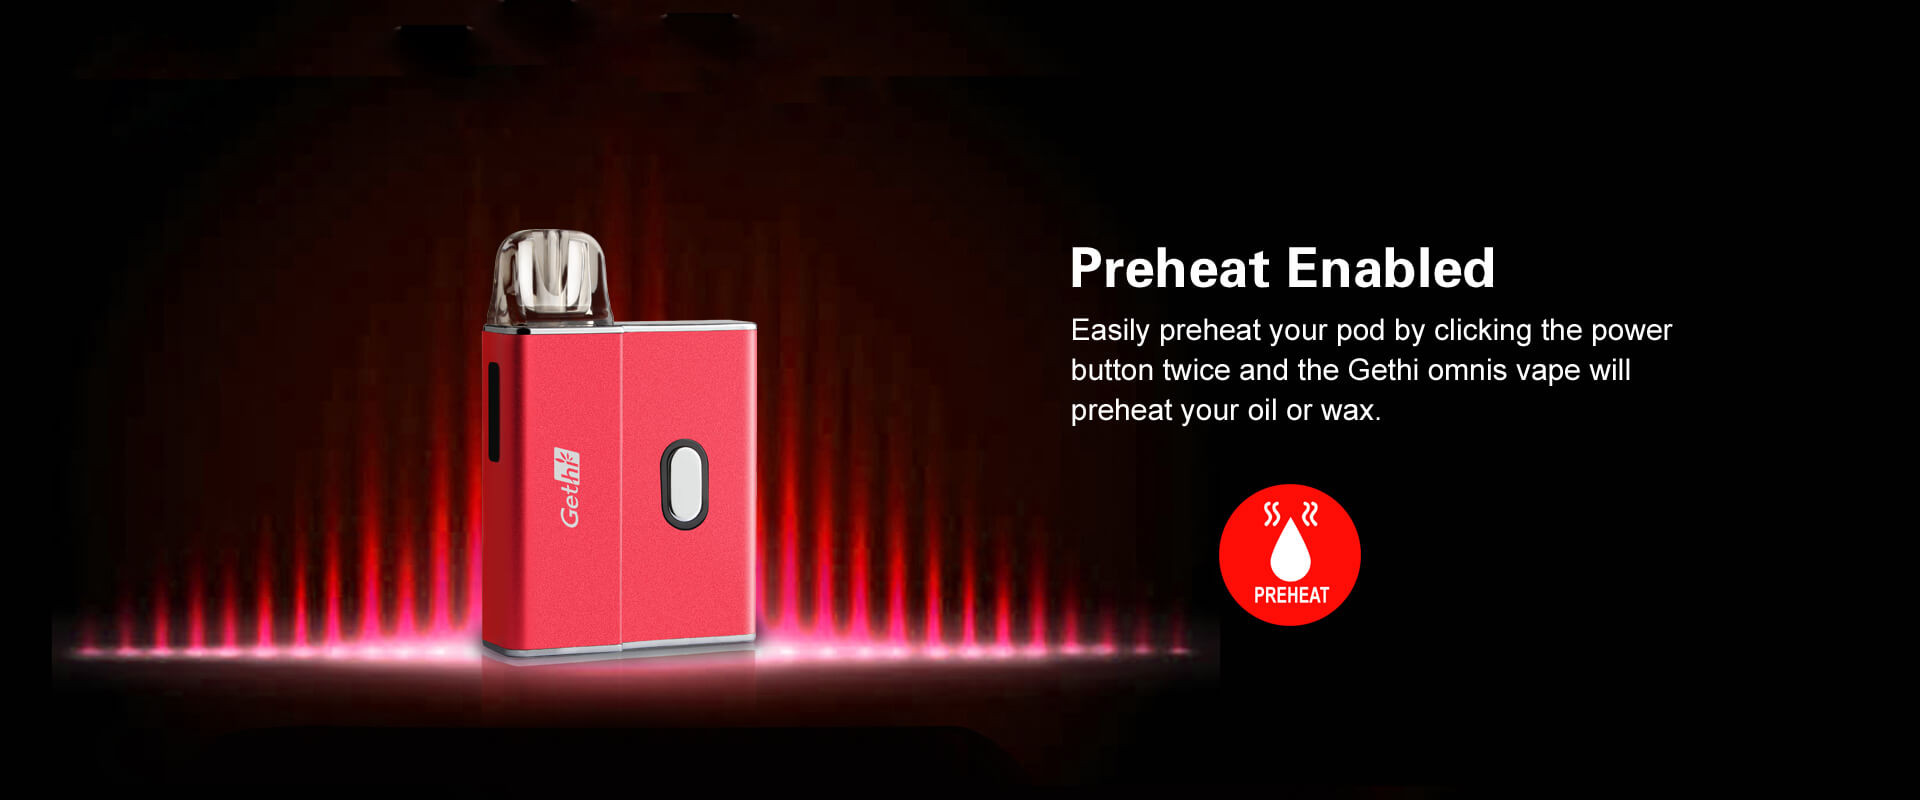
- Preheat your oil cartridge or pod by quickly pressing the power button twice.The preheat mode will automatically run for 15 seconds and it will turn off
when preheat is completed.During preheating the indicator light will cycle colors. Press the button once to stop preheating.
- Press and hold down the power button while inhaling.
Charging
- The indicator light will flash 10 times when the battery is getting low.
- Once the battery has become fully drained the device will power off .
- Plug the device into any powered USB cable to charge. A red indicator light will illuminate while charging and will shut off when charging is complete.
- Please fully charge the device before use.Charging time is typically 2 - 3 hours.
Caution!
- Read this user manual in its entirety very carefully before using the device.
- Do not use the device if it is damaged in any way.
- This product includes many small parts. Keep out of reach of children and pets!
- This product is intended for use only by adults of legal age.
- Children and Women who are pregnant or breast feeding should not use this product.
- This product is not a medical device and is not intended to diagnose, cure, or prevent any disease or other ailment.
Gethi omnis | All-In-One Vaporizer
Please read the instructions before use.
Omnis Teardown

1. CBD Pod 2.Thick Oil Pod 3.Wax Pod 4. 510 Adapter 5. Pod Adapter 6.Oil Level Window
7.Power Button 8.LED Indicator 9.Battery 10.Micro USB Port
Fill and Install the CBD Pod
- Remove the CBD pod from the battery and open the silicone stopper as shown in figure A-1.
- Fill the pod with your favorite CBD oil using the filling slot as shown in figure A-2.
- Close the silicone stopper and clean the surface as shown in figure A-3.
- Install the pod into the battery as shown in figure A-4.

Fill and Install the Thick Oil Pod
- Unscrew the round mouthpiece as shown in figure B-1.
- Fill with your favorite thick oil as shown in figure B-2.(DO NOT PUT OIL IN THE MIDDLE AIRFLOW TUBE,IT WILL DESTROY THE POD)
- Screw the mouthpiece back onto the pod once it hs been filled as shown in figure B-3.
- Install the filled pod place into the slot on top of device and gently slide it down until it magnetically snaps into place as shown in figure B-4.

Fill and Install the Wax Pod
- Remove the mouthpiece from the heating chamber as shown in figure C-1.
- Use the dab tool to scoop up your favorite wax/concentrate and put into the heating chamber as shown in figure C-2.
- Put the mouthpiece back on the heating chamber after filling the pod as shown in figure C-3.
- Install the filled pod into the slot on top of device and gently slide down until it magnetically snaps together as shown in figure C-4.

Install and Use with a Prefilled Pod
- Install any prefilled 14x5.7mm (JUUL Compatible) pod into the pod adapter as shown in figure D-1.
- Install the pod adapter and pod into the slot on top of the device and gently side down until it magnetically snaps into place as shown in figure D-2.

Install and Use with a Prefilled 510 Cartridge
- screw any prefilled 510 thread cartridge into the 510 adapter as show in figure E-1.
- Install the 510 cartridge adapter into the slot on top of the device and gently side down until it magnetically snaps into place as shown in figure E-2.

Please Note:
- First time filling the CBD or thick oil pod,wait about 3 minutes for liquid to soak into coil.
- Water vapor may accumulate at the contact point between the pod and the battery. If accumulation occurs, clean and dry before use. Failure to
clean and dry this area may cause permanent damage to the device and pod.
- Refillable CBD or thick oil pod life expectancy is approximately five refills.
Battery Operation
- Turn the airis omnis device on or off by rapidly pushing the power button fives times.
- Set your preferred voltage by clicking the power button three times. The indicator light will change colors depending on the voltage setting.
●Green = 2.9V |● Blue = 3.7V | ●Red = 4.2V
- Preheat your oil cartridge or pod by quickly pressing the power button twice.The preheat mode will automatically run for 15 seconds and it will turn off when preheat is completed.During preheating the indicator light will cycle colors. Press the button once to stop preheating.
- Press and hold down the power button while inhaling.
Charging
- The indicator light will flash 10 times when the battery is getting low.
- Once the battery has become fully drained the device will power off .
- Plug the device into any powered USB cable to charge. A red indicator light will illuminate while charging and will shut off when charging is complete.
- Please fully charge the device before use.Charging time is typically 2 - 3 hours.
Caution!
- Read this user manual in its entirety very carefully before using the device.
- Do not use the device if it is damaged in any way.
- This product includes many small parts. Keep out of reach of children and pets!
- This product is intended for use only by adults of legal age.
- Children and Women who are pregnant or breast feeding should not use this product.
- This product is not a medical device and is not intended to diagnose, cure, or prevent any disease or other ailment.
// Advanced Technology ● Simple Intelligence ● Taste Maker ● Portable Discretion //
Appreciated for purchasing Airistech vaporizers. All the Airistech brand vaporizer are included warranty which will have its unique code which can request for warranty from Airistech.
Process claim for warranty:
Fistly, pls save the code on the box when you receive the products, check on our website for anti-counterfeiting process. Secondly, contact if quality problem happen Thirdly, claim for warranty from the places where you bought the product, and we will deal with our distributors or agents directly |
Warranty Details:
All the heating coils come with 3 months warranty Batteries are with 6 month warranty Herbva series products are with 1 year warranty. |
Thanks again for choosing Airistech brand and pay attention to our design, we will continue designing good products and offering you the best services. Quality is the first priority, service is the basic principle, and you are the core during our business.